
Weekend Wall Refresh: Painting a Room Without Hiring a Pro
Learn how to prep, prime, and paint a room yourself with pro-quality results, using tools and techniques any homeowner can manage.
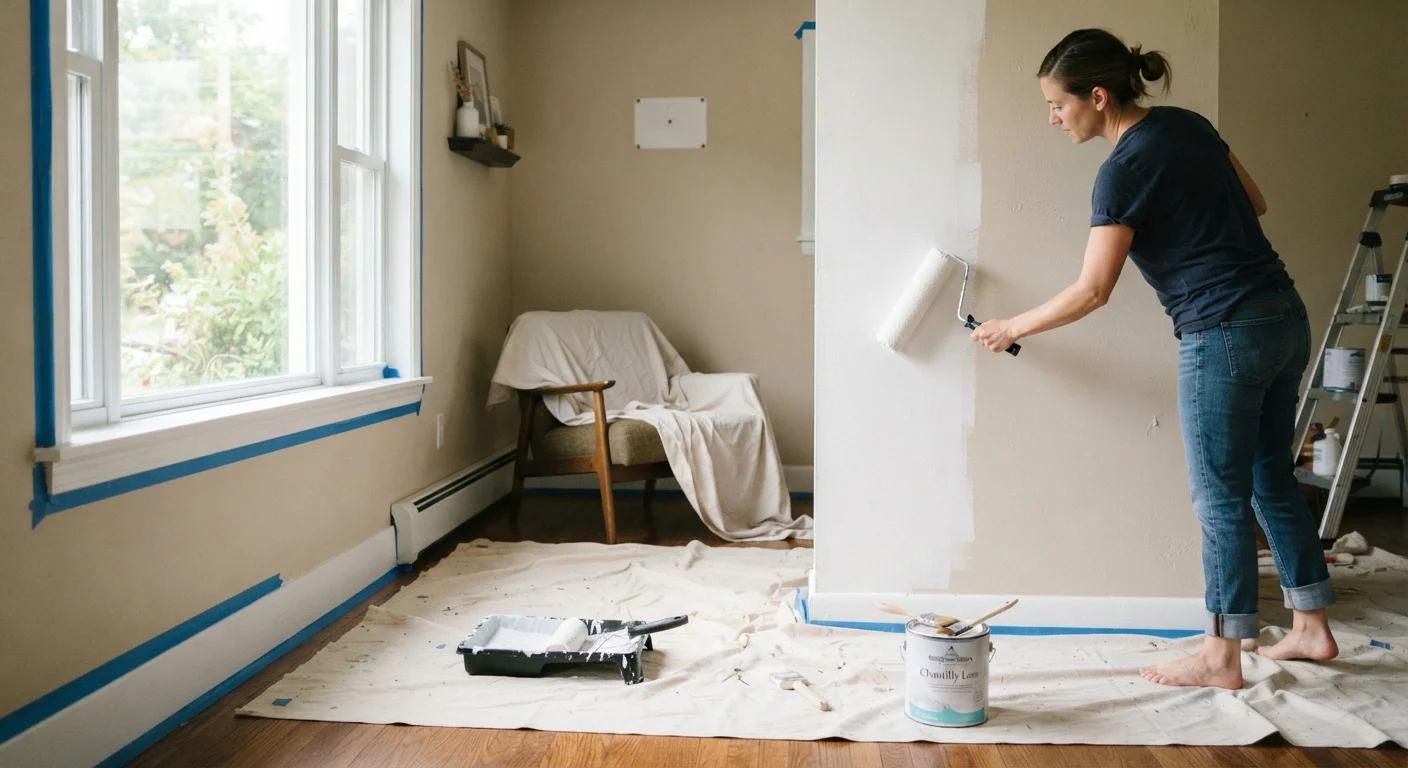
Photo: clearvisionmethod.net editorial
—— In This Article
Key Takeaways
- Proper prep work, patching holes and cleaning walls, determines how well paint sticks and looks.
- Primer is worth the extra step, especially over dark colors, new drywall, or stained surfaces.
- Two thin coats of paint produce a more even finish than one thick coat.
- Quality brushes and rollers reduce streaks and make cutting in along trim much easier.
- Choosing the right sheen for each room affects both appearance and how well walls hold up to cleaning.
What you need before you start
Painting a room yourself can cut labor costs significantly compared to hiring a professional painter. The trade-off is your time and attention to prep work. Skipping prep is the most common reason a DIY paint job looks amateurish, so the steps below give it the weight it deserves.
Before buying supplies, settle on a finish. Matte hides wall imperfections but scuffs more easily. Eggshell and satin are more washable and work well in living rooms and bedrooms. Semi-gloss is better for trim and bathrooms. See our guide to interior paint finishes for a full breakdown of when each sheen makes sense.
What you will need
Paint roller and sleeve
Covers large flat wall surfaces quickly and evenly.
Angled brush (2.5-inch)
Cuts in paint along edges, corners, and trim where a roller cannot reach.
Painter's tape
Protects trim, ceilings, and outlet covers from accidental paint.
Drop cloth
Protects floors from drips and spills during painting.
Spackling compound and putty knife
Fills nail holes and small dings before painting.
Sandpaper (120 and 220 grit)
Smooths patched areas and scuffs glossy surfaces so paint bonds properly.
Primer
Seals patched spots and improves paint adhesion, especially over dark or stained walls.
Extension pole for roller
Lets you reach upper walls and ceilings without a ladder for most tasks.
How to paint a room step by step
Follow these steps in order. Rushing ahead to paint before the prep is done will cost you more time correcting problems later.
Clear and protect the room
Move furniture to the center of the room and cover it with drop cloths or old sheets. Lay drop cloths along the floor at the base of every wall you plan to paint. Remove outlet covers and light switch plates and set them aside. Take down any wall hangings.
Patch holes and repair the surface
Press spackling compound into any nail holes or small cracks with a putty knife, slightly overfilling each spot. Let it dry fully according to the product instructions, then sand flush with 120-grit sandpaper. Wipe away dust with a damp cloth and let the wall dry.
Clean the walls
Wipe walls with a damp sponge to remove dust, grease, and grime. Pay extra attention to areas near light switches and kitchen or bathroom walls. Greasy walls prevent paint from adhering correctly. Let the surface dry completely before moving on.
Apply tape and prime if needed
Run painter's tape along ceiling lines, baseboards, window frames, and door trim. Press the tape edge firmly so paint cannot bleed underneath. Apply primer over all patched spots at minimum. If you are painting over a dark color or a stained wall, prime the entire surface for a consistent base coat.
Cut in the edges
Load your angled brush and paint a 2- to 3-inch band along all edges: ceiling lines, corners, and around trim. This is called cutting in. Work one wall at a time so the cut-in edge is still wet when you roll the center of that wall.
Roll the walls
Load the roller evenly by rolling it back and forth in the paint tray. Apply paint in a broad W or M pattern, then fill in without lifting the roller. Overlap each stroke slightly while the previous area is still wet. Work from top to bottom and keep the roller moving at a consistent speed.
Apply a second coat
Let the first coat dry completely, checking the paint can for the recommended recoat time. Most latex paints need at least two hours. Inspect the wall in good light for thin or uneven spots, then apply a second coat using the same cut-in-then-roll sequence.
Remove tape and clean up
Pull painter's tape off slowly at a 45-degree angle while the second coat is still slightly tacky. Fully dry paint can cause the tape to pull wall finish with it. Rinse brushes and rollers with water for latex paint or the appropriate solvent for oil-based paint. Reattach outlet covers once the walls are fully dry.
Common mistakes and how to avoid them
Lap marks appear when you roll over paint that has already started to dry. Keep a wet edge by working in sections no wider than about four feet and overlapping each stroke before the edge sets.
Drips along baseboards usually mean too much paint was loaded onto the brush or roller. Load lightly and apply two passes rather than one heavy one.
Paint bleeding under tape happens when the tape is not pressed firmly along its edge. Run a putty knife or your fingernail along the tape seam after applying it. Remove tape at a 45-degree angle while the paint is still slightly tacky, not fully dry, to get a clean line.
If you are updating the exterior of your home as well, low-effort exterior updates can complement interior work and improve how the whole home looks without a large budget.
Buy a little more paint than you think you need
A quart of leftover paint in the original labeled can is worth storing for future touch-ups. Paint mixed to a custom color can be difficult to match exactly later, especially if the formula changes. Store the can upside down after sealing to keep the lid airtight and the paint usable longer.

Home & Garden Editorial Team
Home & Garden Editorial Team is the collective byline for our editorial team and contributor network. Articles published under this byline or an editorial pen name are researched, written, and reviewed according to our editorial standards for clarity, consistency, and independence before publication.
View author profile